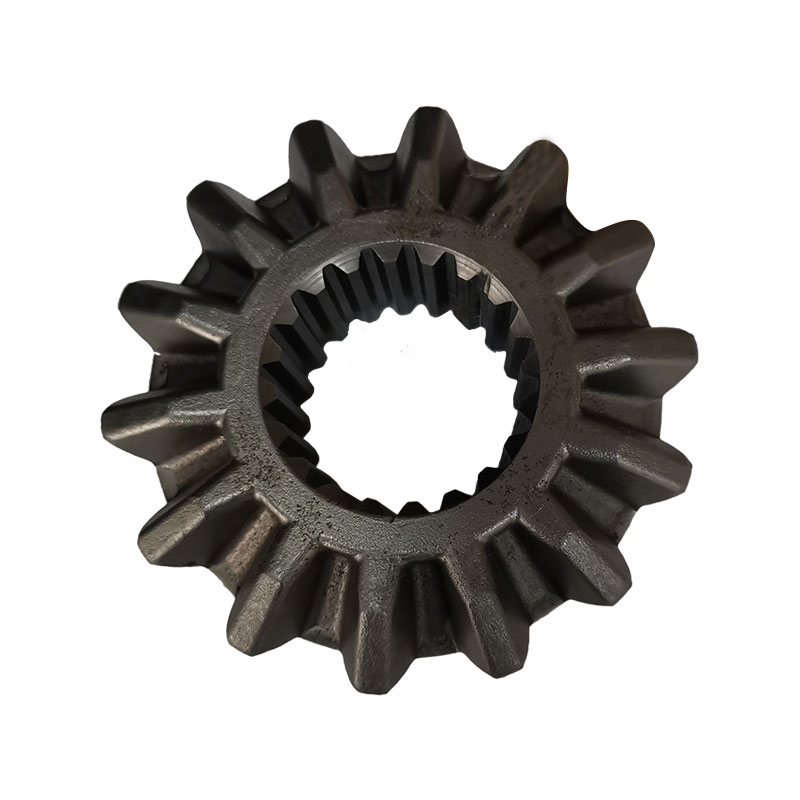
Automobile half shafts are important parts of automobil […]

Automobile half shafts are important parts of automobiles. Their main purpose is to transfer the power and torque of the engine from the gearbox to the drive wheels. There are several signs that the car’s half-axle has been damaged and should be repaired immediately, because a broken car’s half-axle may cause considerable damage to your car. How to know if the car half shaft is damaged?
Put your car into service first. If you hear a sudden pause or splash, this is a clear sign of damage to the axle shaft.
Another way to check whether a car’s half axle is damaged is to drive the car carefully. If you feel unusual rumbling or vibrations when accelerating or turning, the axle is almost worn or nearly broken.
If the half shaft of the car is broken, you should hand the car to a certified mechanic and let him judge. Regardless of whether the half shaft is really damaged, only a mechanic can diagnose and solve the problem without causing additional damage to the car.
Half shaft machining process flow
1. Select the material and cut, and determine the machining allowance at the same time, which is convenient for subsequent processing operations.
2. The semi-axle is forged on an air hammer and the cap is swung with a pendulum mill.
3. Shot peening the half shaft.
4. Carry out the straightening of the blank rod to ensure that the verticality is in the straightening. The first time is the blank straightening, and the second is the straightening after the heat treatment. The straightening after the heat treatment must ensure that the runout is not greater than 0.08, 0.2 and 0.4. For rough straightening, two fixed straightening roller devices are used to support the half shaft. A transmission connecting device is matched with the two protrusions on the flange end of the half shaft and drives the half shaft to rotate. The tailstock top bears against the half shaft. The indenter on the straightening machine drops, and the half shaft is straightened under the action of the roller and indenter. After heat treatment, the half shaft is supported on both ends of the clamp. The clamp can be easily moved from one end to the other, so that the indenter can load and drill the small end at any higher part between the spline end and the flange end. Center hole, large outer circle for rough turning.
5. The small end of the rough turning is processed by a hexagonal turret lathe or a copying lathe for rough turning and finishing.
6, car big hole
The flat end face is a key process to improve the productivity of the half-shaft production line. It is better to use the cut-in method to mill the end face.
7. Rough car big end, fine car big end, fine car small end.
8. Cold rolled spline
The rolling spline is positioned at the center holes at both ends, and the involute spline is rolled. The required instrument for rolling the spline is a spline rolling machine. The required measuring tools are micrometers and integrated spline gauges. In order to improve the production efficiency and fatigue strength of the half-shaft spline, the spline cold roll forming process has been widely used. This process is a chip-free cold forming process for power transmission parts and tooth workpieces.
This process greatly improves the accuracy of cold-formed tooth workpieces. During the rolling process, all relevant parameters are positioned and controlled, so a certain number of teeth and accurate tooth profile can be guaranteed. Take rolling as an example. Position a steel shaft at the starting position between two profiled racks. The teeth at this end are shallow. Only the original shape of the spline is pressed on the workpiece. The two racks Move quickly in the opposite direction, drive the workpiece to rotate, and squeeze the metal on the surface of the workpiece step by step. At this time, you can clearly see the dents. At this time, the tooth-shaped part only needs to rotate for a few more weeks to ensure that the tooth-shaped geometry and accuracy required for quality control can be obtained.